 |
 |
 |
 |
|
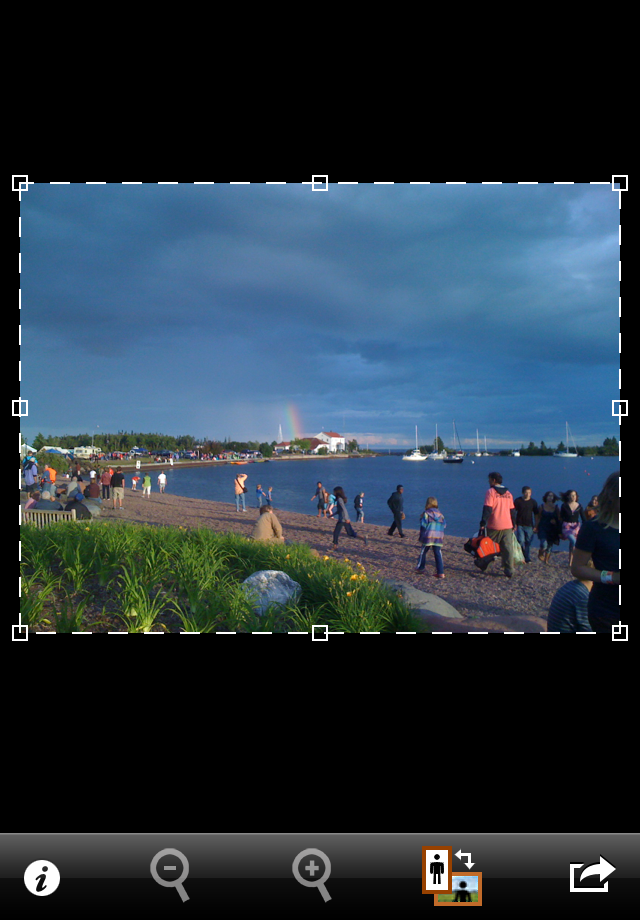
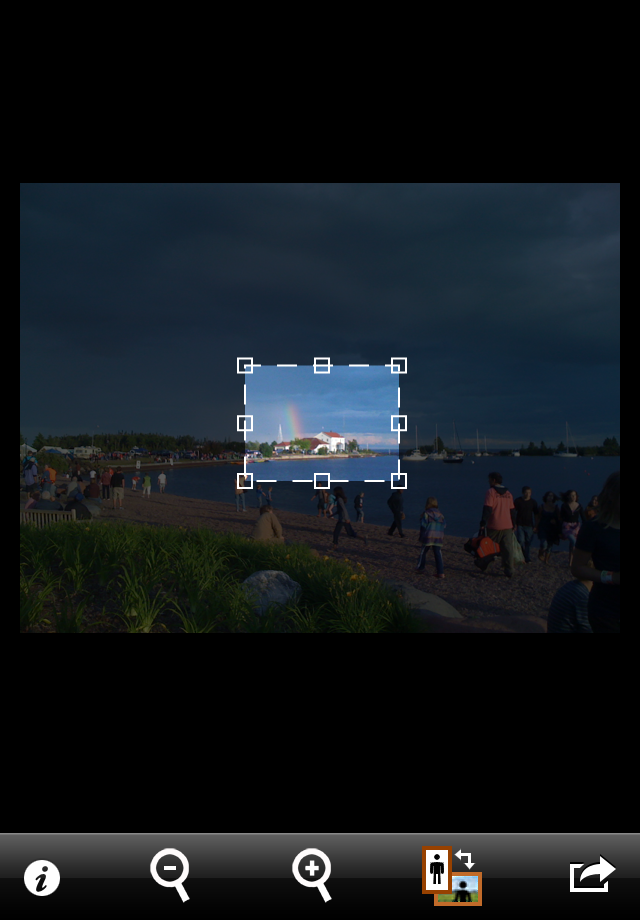
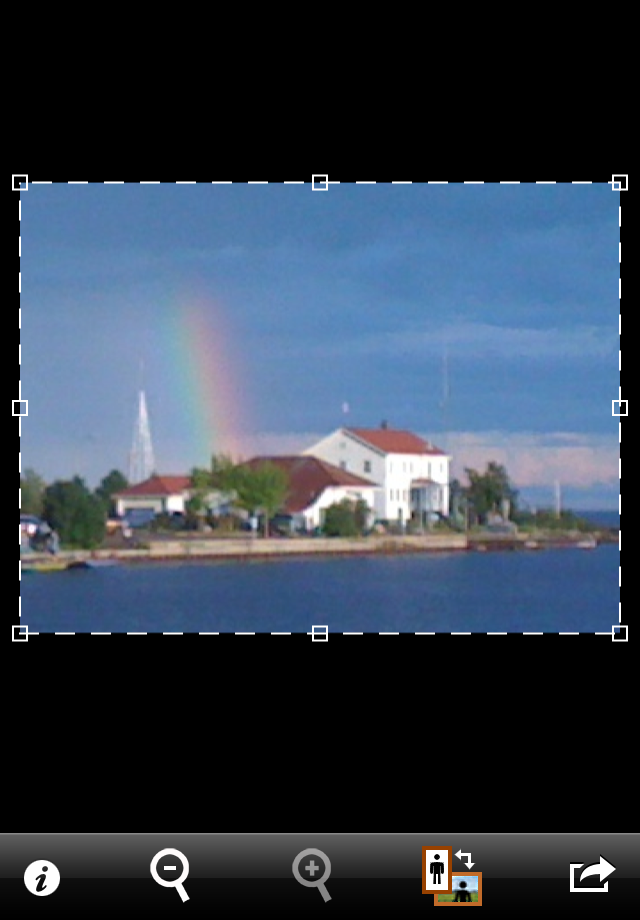
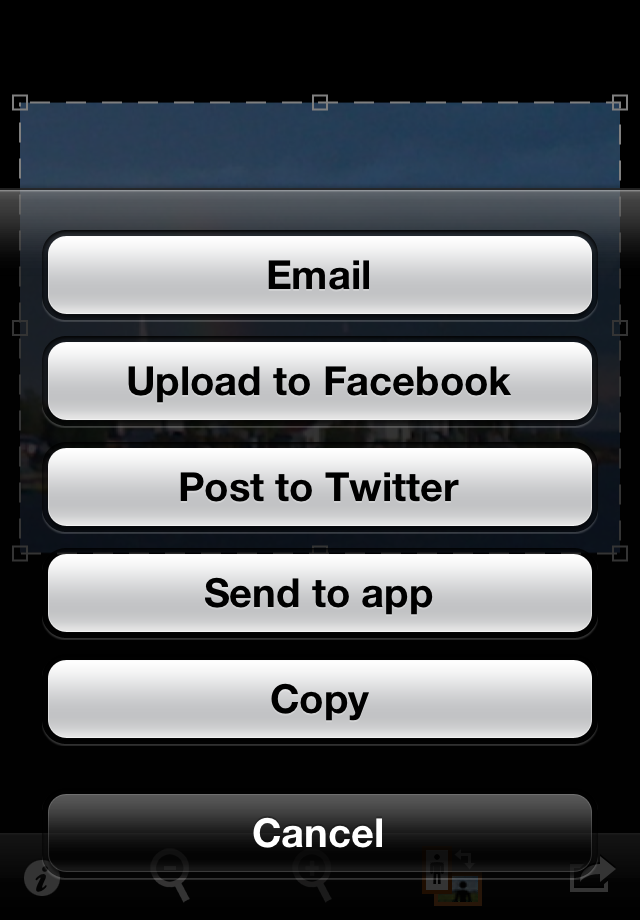
Step 1: Take or Choose a Photo When the app opens, tap the Camera button to take a picture, or tap the Photo Library button to open a picture you took earlier. Step 2: Zoom In A dashed rectangle outlines the photo, and you specify where and how far to zoom by dragging any of the square handles to resize the rectangle, and dragging from the middle of the rectangle to move it. To preview the zoomed image, tap the + magnifying glass. Step 3: Save or Share the Photo Tap the arrow button found in the lower right to save or share the zoomed image. The i button is used to view these instructions and to change settings. Tap the magnifying glass icons to zoom in and out again as needed to refine your zoom selection. As you adjust the zoom rectangle, a three by three grid is displayed to assist with your image composition. By default, the aspect ratio of the original image is maintained, but that can be changed with the Aspect Ratio setting. Tap the landscape/portrait orientation button to change the orientation of the zoom rectangle.
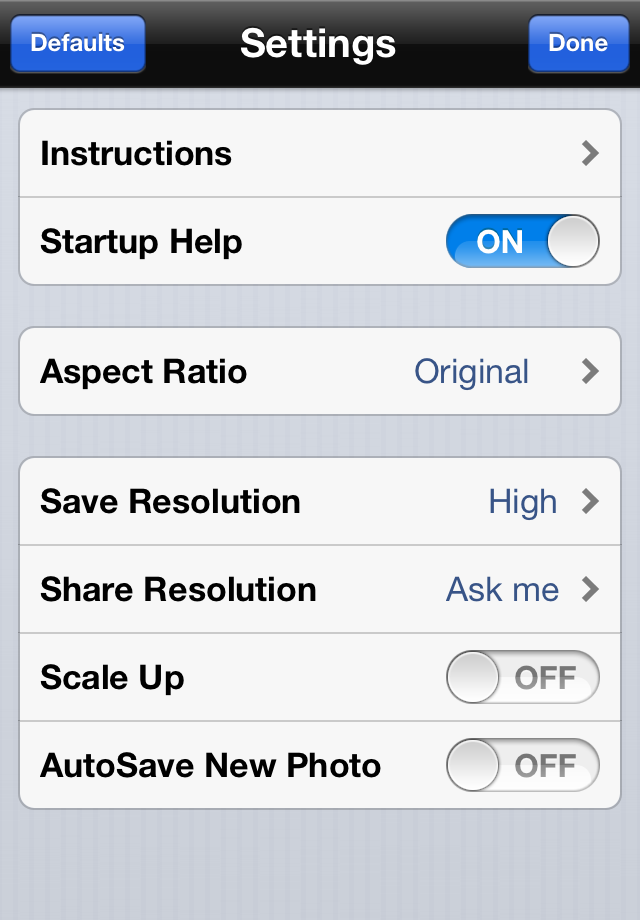
You can count on getting good results with the default settings, but there may be times you want to do something different. You can easily restore the original settings by tapping the Defaults button. Instructions displays the instructions you are currently viewing. Startup Help refers to the instructions that may be displayed inside the zoom rectangle. You can turn this off when it is no longer helpful. Aspect Ratio determines how the zoom rectangle is constrained. The default is the aspect ratio of the original photo. If you select Any, the rectangle will be unconstrained, allowing you to move the rectangle handles freely. Or you can choose from other common aspect ratios. If you want to maintain your original image resolution, choose High. Higher resolution images take longer to save, longer to email, longer to upload, and use more space on your device, so don't save or share more than you need. Medium resolution is half the full resolution, and Low resolution is 640 x 640 or less, depending on the aspect ratio of your image. When sharing, note that the service or app that you share with may also scale your image to conform to its resolution requirements. If you enable Scale Up, the image will be enlarged to your specified resolution. This is what a digital zoom typically does, but it may result in loss of detail. When you don't scale up, you will have fewer pixels in your image (because you lose the pixels that were outside of the zoom rectangle), but you will preserve all the detail in the shot. This is sometimes referred to as smart zoom, and is recommended for most cases. When AutoSave New Photo is on, the unzoomed version of photos that you shoot in Shoot'n'Zoom will be automatically saved at full resolution. |
 |
 | |
 | |
 | |
 |
|
Copyright ©2009-2013 FreshAir Software Inc. All rights reserved. |